Ultrasonic Scrubber Routine for Blackheads & Pores
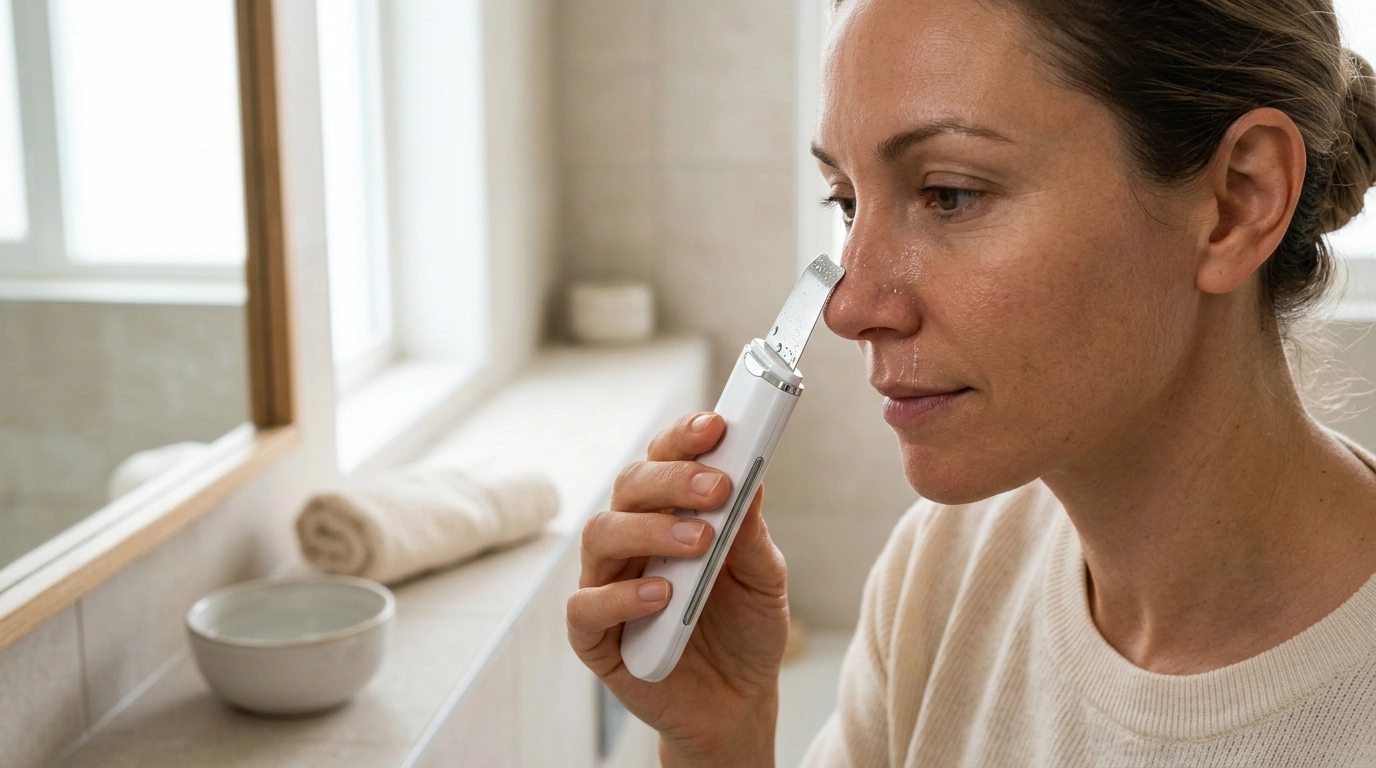
Ultrasonic Blackhead Remover Scrubber for At-Home Pore Care
An ultrasonic skin scrubber uses high-frequency vibration to help lift surface debris, loosen congested pores, and support smoother-looking skin when used with the right technique. With a little patience and the right amount of moisture, it can be a helpful add-on to a simple cleansing routine—especially for the nose and chin where buildup tends to collect. For more guidance, see Ultrasonic Face Skin Scrubber Spatula Pore Cleaner Blackhead ….
Below is a practical guide to what an ultrasonic scrubber does, how to use it comfortably, and how to care for your skin afterward so results look better over time. For further reading, see Ultrasonic Skin Scrubber Removes Stubborn Blackhead and Acne Dirt.
What an Ultrasonic Skin Scrubber Does
An ultrasonic scrubber is designed to gently “shake loose” surface-level buildup when your skin is damp. The vibration agitates moisture at the skin’s surface, which can help dislodge debris around the pore opening and lift dead skin that contributes to rough texture.
- Uses ultrasonic vibration to agitate moisture on the skin’s surface, helping dislodge buildup around pores.
- Common goals: reduce the look of blackheads, improve the feel of rough texture, and help skincare absorb more evenly after cleansing.
- Works best on softened, wet skin; dry use can cause tugging and irritation.
- Results are typically gradual and depend on consistency, cleansing habits, and skin type.
If you’re dealing with persistent blackheads, it also helps to follow established acne-care basics like gentle cleansing and avoiding aggressive picking. The American Academy of Dermatology Association (AAD) offers a helpful overview of blackheads and treatment approaches here: https://www.aad.org/public/diseases/acne/blackheads.
How It Works: Vibration + Moisture + Gentle Pressure
The most comfortable (and effective-looking) sessions usually come down to three things: keeping the skin wet, using a shallow angle, and resisting the urge to press hard.
- Moisture (water or hydrating toner) creates slip so the spatula edge can glide instead of scraping.
- Vibration can help loosen surface dead skin and oil plugs at the pore opening, especially on the nose and chin.
- Angle matters: keep the spatula nearly flat to the skin (about 30–45°) and move slowly. Pressing harder doesn’t improve performance; it usually just increases redness.
- Think of it as a controlled, mild exfoliation step rather than a forceful extraction.
For general exfoliation safety, the AAD also shares guidance on avoiding overdoing it and protecting the skin barrier: https://www.aad.org/public/everyday-care/skin-care-secrets/routine/exfoliation.
Step-by-Step Use (Beginner-Friendly Routine)
For most people, the sweet spot is a short session on well-cleansed, very damp skin—followed by calming hydration.
1) Cleanse first
Remove makeup and sunscreen, then wash with a gentle cleanser. Starting with a clean surface helps the tool focus on leftover buildup rather than pushing product around.
2) Soften the skin
Use a warm (not hot) towel for 1–3 minutes, or do your session after a shower. This helps the outer layer feel more pliable.
3) Keep skin wet
Mist water or apply a watery toner. Re-wet as needed so the spatula glides easily without tugging.
4) Glide slowly in small zones
Work the nose, chin, and between the brows in short strokes, moving outward and slightly upward. Keep the device nearly flat against the skin rather than digging with the edge.
5) Limit passes
One to two passes per area is usually enough. Stop if skin turns very red, feels hot, or becomes tender—those are signs to back off.
6) Rinse and calm
Splash with cool water, then apply a soothing moisturizer. If you exfoliate at night, wear sunscreen the next morning.
Simple schedule by skin type (starting point)
| Skin type | How often to use | Session length | Notes |
|---|---|---|---|
| Oily / congested | 1–2× per week | 5–8 minutes | Focus on T-zone; keep skin very wet to reduce friction. |
| Combination | 1× per week | 4–7 minutes | Target oily zones only; avoid dry patches. |
| Dry / sensitive | Every 10–14 days | 3–5 minutes | Use minimal pressure and prioritize hydration afterward. |
| Acne-prone (inflamed) | As tolerated; avoid active lesions | 3–6 minutes | Do not glide over pustules/cysts; consider professional guidance. |
Where It Helps Most (and Where to Avoid)
Ultrasonic scrubbers tend to shine in areas where pores clog easily and the skin is a bit oilier.
Aftercare That Makes Results Look Better
Cleaning and Maintenance
Product Picks Available Now
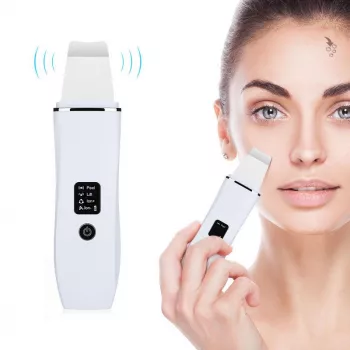
- Ultrasonic Blackhead Remover Scrubber — a compact, budget-friendly way to add ultrasonic exfoliation to your routine. Use it with plenty of water or a watery toner for smooth glide, and start with a conservative schedule.
- L-Shaped 50-Inch Gaming Desk with CPU Storage & Side Bag for Home Office — a spacious surface can double as a practical getting-ready or skincare station, making it easier to keep your routine consistent and your tools organized.
FAQ
Can an ultrasonic skin scrubber remove blackheads completely?
It can loosen surface buildup and reduce the look of congestion, but deep or stubborn blackheads often need ongoing routine support (consistent cleansing and gentle exfoliation) or occasional professional extraction.
How often should an ultrasonic scrubber be used?
Many oily or congested skin types do well with 1–2 times per week, while sensitive or dry skin may prefer every 10–14 days. Start slow and reduce frequency if you notice lingering redness or tenderness.
Is it safe to use an ultrasonic scrubber on active acne?
Avoid gliding over inflamed pimples, pustules, or cystic areas because it can increase irritation and potentially spread bacteria. Focus on non-inflamed areas, and consider dermatology guidance for persistent or painful breakouts.








Leave a comment